Post formative: Genealogies
Post Formative Development: Genealogies.
With the feedback I received from the formative assessment I wanted to expand on the idea of 'designing the uncomfortable' by adding a more personal touch to the project. An 'object' In particular that I cannot stand is the material Polystyrene or Styrofoam. I dislike the feel of it, the squeaky sound it makes when it is rubbed and how it makes such as mess when crafting with it. This is a perfect object to use for this project. I had the idea of incorporating polystyrene into the project by combining it with objects that I use on a daily basis such as a tooth brush or headphones that afford interaction. An example being a toothbrush made out of polystyrene, the thought alone of brushing polystyrene across my teeth gives me a shock down the spine.
Instead of creating replicas of these objects out of polystyrene in person (because that would be torture for me) I decided to create 3D models of objects I would use on a daily basis using Cinema4D thanks to the process and production sessions with Jay I had a good understanding of the software and I was eager to expand my skills with the software.
Headphones.
To begin with I started by creating headphones that were inspired by the two headsets that I use in real life, one for music and the other for online voice chatting on my computer at home. I didn't want to made exact 1-1 scale replica of the headphones I use because I wanted to experiment with different tools within the software. However I used assets and shapes within the two headsets as primary inspiration.

The main shape of the model was inspired by my 'Skull Candy Crushers' headphones that I use to listen to music. I started with creating the ear cups that featured a similar shape to the Skull candy headphones. Including details such the small square at the bottom of each cup (I don't know what this is actually on the real headphones, I am not an audiophile)

Next I created the cushions extruded out on the ear cup these were created using a combination of the extrude and inner extrude tool with the point selection.

Once I was satisfied with the ear cup I next worked on creating the headband, the initial shape was inspired by the same headphones in person but not as angular this part was also created using the extrude and inner extrude tools.

I wanted to have a bit of a low poly style to the design because I liked the blocky look compared to a rounder smoother surface and edges that the original headphones had. I later experimented with the subdivision surface tool later onwards in the creation of the 3d model.

I accidentally deleted it. Don't ask..
I started again. I turned auto save on as well.
So yes I accidentally deleted the original 3d model, I returned to this later in the day and re-created the design to the point it was at last. The good part of having to recreate the model is that I was able to make things a bit more detailed in the newer design.

The following day I worked on completing the headphone headband the base model of the headband consisted of extrusions of 20 and 40 angled at -5cm to obtain a curve, to help with creating the curve I acted a Figure object and placed the headphones around the head. Additionally I created a copy of what I had designed so far to get the measurements correct.

With the measurements accurate and to my liking I deleted the copy and started working on the details of the headphones alongside adjusting points and edges. I added more of a width to the headband and included small details like hinges, small cushions (inspired by the original headphones) and inner extrusions on the length of the headband to give it more of detailed shape.

Additionally I experimented with the subdivision surface tool however due to the headphones consisting of a single shape the subdivision surface applied to the entire model creating a very bubbly looking object. If I were to use this tool I will need to separate parts of the object and then apply the tool to specific pieces of the headphones, the ear cup protectors in particular are an example. Below is a screenshot of the whole object with subdivision surface applied.

After tweaking the headband slightly by shortening it, the main body of the object was completed so I copied, rotated and merged the two halves to make a whole base model. all that remained was to work on additional details such as a headphone jack, buttons and a volume slider.

Examples of details added to the model.


Adding a Polystyrene Texture.
With the model complete I was ready to apply a polystyrene texture. I was lucky enough to find a really well made texture online which can be seen on a cube in the screenshot below. This texture alone bumped up the render time significantly, so it would be interesting how long it will take to render a still of the headphones with the texture applied.

The texture worked out great in a quick render, I also edited the anti-alias option in the render settings resulting in the screenshot below, next I will be looking at camera positioning and adding a background.

I added a temporary grey background with a simple gradient to the model, i'm currently unsure on how I want to present this as an outcome for my genealogies project. An idea is that I could possibly make a video that showcases the object with a camera that rotates around the model. Another idea is to include sound, seeing that the model are a pair of headphones, I could include the sound of polystyrene rubbing together to add sensual discomfort. (for me at least)

Below is a 10 second 360 rotation render created as an outcome for this project.
Toothbrush.
With the headphones complete and rendered I next moved onto creating a 3D model of a toothbrush. I believe that a polystyrene toothbrush would be another object that would make me uncomfortable because of the feeling of polystyrene rubbing against my teeth combined with the sound it would make if I were to rub the material against my teeth. Nasty. This object is simpler to create than the Headphones due to containing less complex angles and shapes. Additionally the shortcuts and tricks i have learnt from creating the Headphones has helped with being able to create the toothbrush with ease.
With a basic model of the tooth brush complete i can start working on applying details, for this model i will be applying a subdivision surface to get that rounded appearance that toothbrushes have.

To prevent having the whole object from having an odd rounded curve to it i'll only be applying the sub division surface to the base model of the brush and then apply details on top.

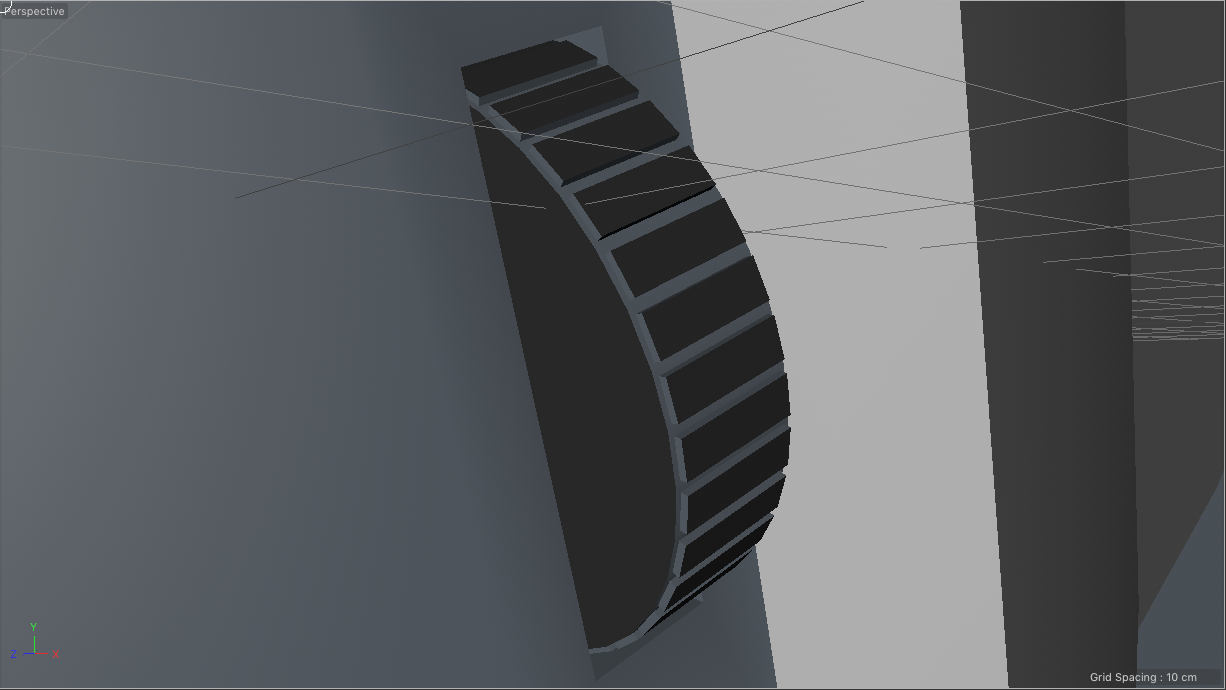
Using the cloner tool and a cylinder I created the bristles for the head of the brush.

After adding some minor adjustments and details, I applied the same Polystyrene texture I used for the headphones to all assets on the brush model. The model was pretty much done and all that remains is creating a background, positioning and setting up lighting and cameras.

Using the same layout as the headphones I copied over the render settings, lights and textures. In no time I created a scene that I was happy with, I chose to add two brushes with different angles for these renders. Seeing that a single frame takes around 3 minutes to render and my frame rate is set at 30 for these I will be rendering the 360 video render overnight because it will take 15 hours to complete a 300 frame 10 second video.

After advancing my skills with cinema 4d I returned to these outcomes to improve my renders by changing the render settings, lighting and background. below are the re-edits.
These new edits are far better as they look more realistic, higher quality and most importantly the objects don't blend into the background. But one thing I am glad to see is an improvement from the first project involving 3d software to the last.


It took 15 minutes to render 1 frame of these objects, so instead of re rendering the video i'm going to create various stills at different angles for my summative presentation.


Comments
Post a Comment